

Accessing exception details
On the Exceptions page, select the linked Reason in the exception row to open its detail page. You can also focus a queue row and press Enter. Both paths carry the queue’s context scope when one is active.
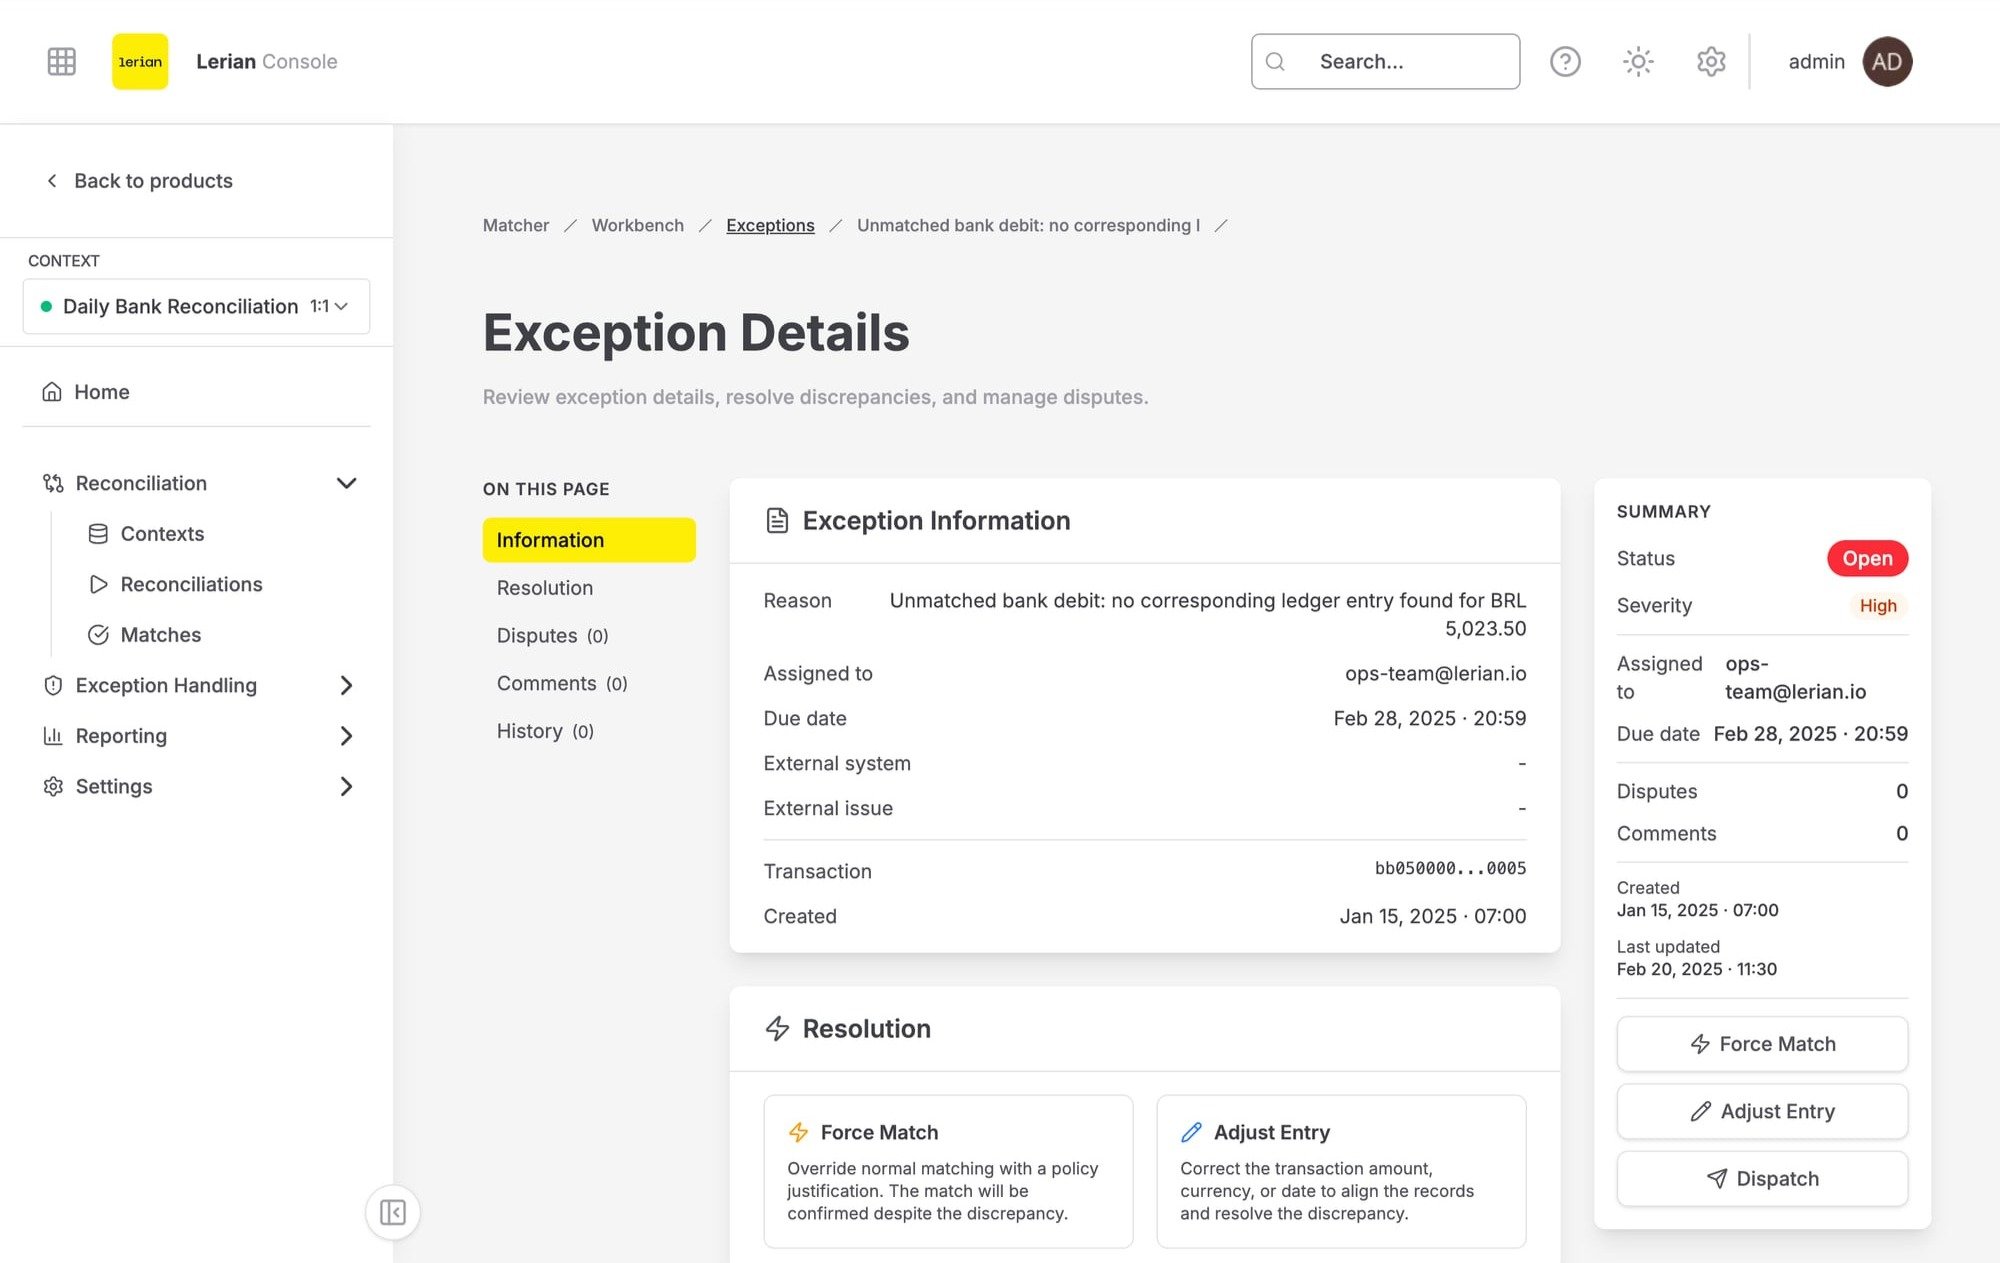
Figure 1. Exception detail showing the transaction information, candidate matches, comments, and action history.
Page layout
The page header always uses the title Exception details; it does not use the exception’s reason or ID as its title. It includes a back button and, depending on your permissions, can show View audit trail, Assign, Open dispute, Dispatch, Adjust entry, Resolve, and Force match. These controls are permission-gated, not selected by a configured workflow. For an exception in RESOLVED or PENDING_RESOLUTION, the UI hides Open dispute, Dispatch, Adjust entry, Resolve, and Force match. Assign can still be shown to an operator with assignment permission, even in those states. The Match to this action belongs to the candidate panel rather than the header and requires manual-match permission. View audit trail appears only to an administrator or to a user with audit-log read permission; it opens a slide-over with the exception’s immutable governance audit events. Below the header, a status rail shows the exception ID, its severity and status badges, and the Updated timestamp. The body is a three-column sheet: the Transaction, Information, Candidate matches or Resolution, and Comments panels fill the two left columns, while the History panel runs the full height of the right column.
Queue navigation
The queue controls work only within the currently loaded page of the filtered Exceptions queue. When the exception is present in that session-scoped snapshot and the page has more than one item, Previous exception / Next exception buttons and a position indicator let you move among those siblings. They do not traverse to another cursor page; the boundary button is disabled. The Advance to next after resolving checkbox appears only for a non-terminal exception that has a next sibling. After a successful Resolve, Force match, Adjust entry, or Match to this action, it opens that recorded next sibling when selected. At the last item, there is no next sibling and the checkbox is not shown. If the browser cannot persist the session snapshot, the page simply omits sibling navigation.Panels
Transaction
The exception record itself supplies its transaction ID. With a resolved reconciliation context, the page enriches that ID from the unmatched report and shows Amount, Currency, Transaction date, and Source. It is not an arbitrary full transaction-payload viewer. If the page has no context from the route or the current session, use the context selector in the panel header. If enrichment remains unavailable—for example, because the transaction is already matched or outside the report window—the panel still shows the transaction ID and explains why the fuller data is unavailable instead of showing a zero amount.Information
The Information panel displays read-only details about the exception:Candidate matches
For an exception that is not RESOLVED or PENDING_RESOLUTION, the Candidate matches panel requests counterpart candidates for the exception transaction in one reconciliation context. It requests up to 50 ranked proposals by default; the candidate endpoint accepts a limit from 1 through 200. Each proposal has a required 0–100 score, displayed with Strong, Plausible, or Weak confidence bands. The panel also shows the candidate’s amount, currency, identifier, rule type, and date; its amount and date deltas; and the score rationale for amount, currency, date, reference similarity, and any configured composite match fields. Candidates are 1:1 opposite-side counterparts ranked over raw amounts: fee normalization and FX-variance bands are not applied here. The panel requires a context. If none is available, it asks you to select one; an empty result is distinct from an error, and a request failure shows Retry. If you have manual-match permission, Match to this opens Match to this candidate? for confirmation. Confirming links the two transactions into a confirmed match group, removes them from the unmatched queue, and refreshes the exception.Resolution
For RESOLVED and PENDING_RESOLUTION exceptions, a Resolution panel replaces the candidate panel. It can show the Resolution type, Resolution reason, Resolution notes, Resolved by, and Resolved at values recorded for the exception.Comments
The Comments panel shows each comment’s author, relative timestamp, and content. Comments are returned oldest first. Enter text and click Send, or press Ctrl+Enter / Cmd+Enter. A comment must contain text and the service accepts up to 5,000 characters. Only your own comments show a delete control. Deleting one requires confirmation and permanently removes it. Adding comments is disabled for exceptions in RESOLVED or PENDING_RESOLUTION, but existing comments remain visible.History
The History panel shows an action timeline. Each entry contains the action description, the actor (or “system” for automated actions), and a relative timestamp. New entries are published asynchronously, so an action can take roughly two to three seconds to appear.Actions
The header contains the lifecycle actions; their visibility follows the permissions and status rules above. Manual matching is available from Candidate matches. Assign Opens the Assign exception dialog. The Assignee field starts with the current assignee when there is one; enter a nonempty assignee of up to 255 characters and click Assign. Open dispute Opens the Open dispute dialog. Select a Category — Bank Fee Error, Unrecognized Charge, Duplicate Transaction, Amount Mismatch, or Other — and provide a Description. The dialog requires both fields and limits the description to 2,000 characters. Then click Open dispute. Evidence submission and dispute closure happen on the dispute’s own detail page. See Managing Disputes. Dispatch Opens the Dispatch to External System dialog to send the exception to an external system for handling:
If the selected target system does not have a connector configured, dispatch fails. Verify that the integration is set up in Exception Routing before dispatching.
Adjust entry
Opens the Adjust entry dialog to record a monetary correction that resolves the exception. Every field is required; these fields are not conditional on a workflow configuration:
Click Record adjustment to submit the adjustment and resolve the exception.
Resolve
Opens the Resolve exception dialog to mark the exception resolved directly. Resolution is required and limited to 255 characters. Add an optional Reason of up to 1,000 characters for the record, then click Resolve.
Force match
Opens the Force match dialog to override normal matching and resolve the exception:
Click Confirm force match to resolve the exception.